Grab your AMAZING 26 Page Alphabet Freebie Today!

Do you know a child who is fascinated by Dinosaurs? This DIY Dinosaur Dig activity for kids is a fantastic way to turn them into mini paleontologists for a day. They get to experience the bone excavation first hand while learning the amazing science surrounding dinosaurs and their extinction.
Real life Dinosaur digs are taking place across the world right now. In fact, according to this map from the Smithsonian institute, there may be dinosaur bones in your backyard!!
Seriously!
Just recently, a 9-year-old boy from New Mexico tripped on one while on a walk with his family. They didn’t realize what it was until they sent a picture to a local university. It turns out, he had accidentally discovered a million year old Dinosaur. Pretty Amazing! (Fortin, Jacey. “A 9-year-old Tripped, Fell, and Discovered a Million-Year-Old Fossil.” The New York Times. July 19, 2017.)

While most children won’t have the opportunity to trip over such a fantastic discovery, they can experience a lot of the fun of a dinosaur dig at their kitchen table or in school. This simple recipe creates a sand like substance that packs together beautifully around artificial bones. The children can then dig for, clean and collect the dinosaur bones.
Even better, the sand is reusable, so once one child has had a turn, re-pack your brick and let another one try. The day I made these, they kept 10 children (several of my own and their friends) busy and excited for over 4 hours. That was just the first day!!

Here’s a list of supplies you can use for this activity:

To make the sand you will need:
*Makes enough to fill one loaf pan packed down.
Instructions: Combine the dry ingredients, and mix well. Then pour in the water. Mix with your fingers until the mixture resembles moldable sand from the beach. Be careful to not add too much water. You just want the sand a bit damp so it can stick together.

Next: Place a layer of the sand mixture in the bottom of a loaf pan. (You could also use a bowl or whatever type of deep dish you have on hand.) Lay a couple of bones down on that level.

Cover the bones with another layer of the sand mixture. Then add more bones. Continue until you have filled the loaf pan (or other container) with sand and bones.

Pack the sand mixture down tightly. This will help the shape hold together after you turn it over.

When you are done packing down the sand, carefully flip over the loaf pan. Tap the bottom of it just a bit if it needs encouragement to come out. We didn’t have any trouble. It popped right out, and held it’s form beautifully.

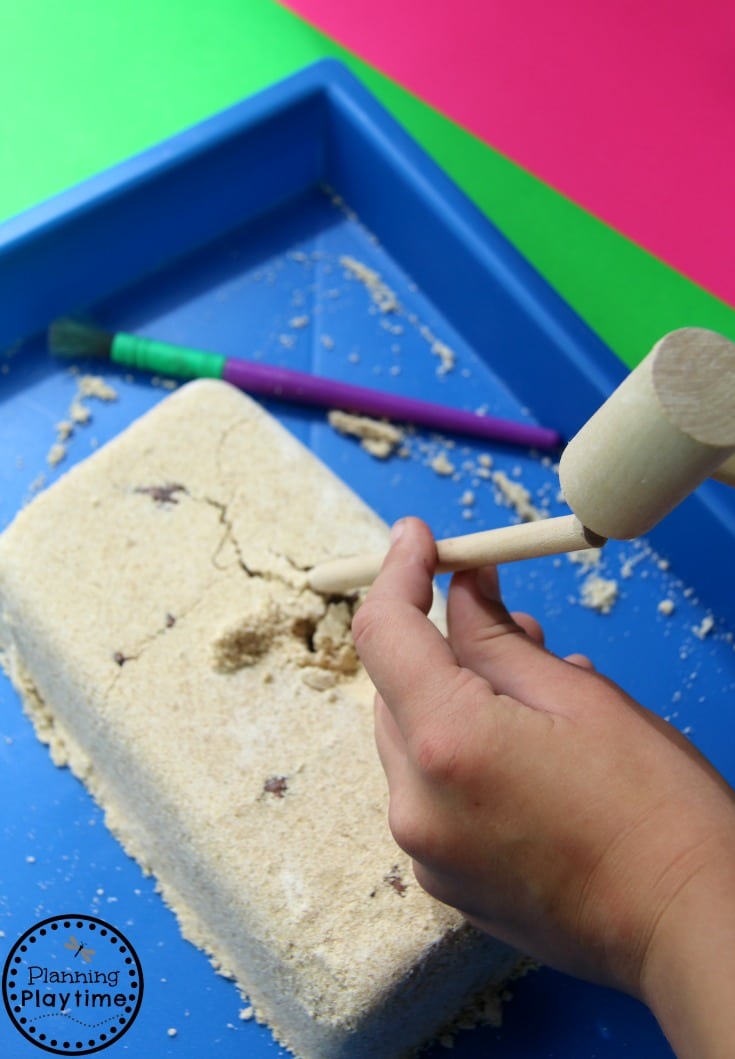
Here’s where it gets super fun! Pull out excavation tools like a wooden hammer, a pointed stick or toy chisel. You can also use paint brushes, a clean tooth brush, toothpicks, and whatever else you think might help. Then let the children start working on their dig.


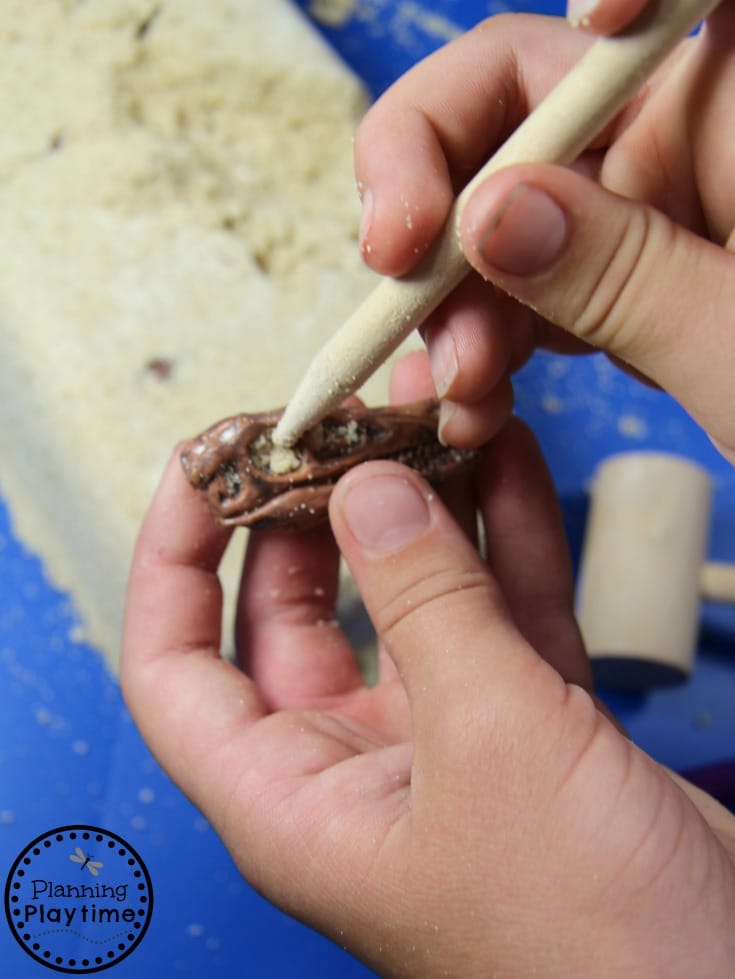
Have them work like a scientist, being ever so careful to remove the dirt from around the fossil and free it. Then do more detailed work to take away any remaining sand and clean the dinosaur bones.
As soon as you have finished this activity, you can re-pack and start again. You can also try hiding gems in the dig for a fun twist. Be sure to talk about the science before or while they work so they can appreciate the process.

Thank you for checking out our Dinosaur Dig for kids and DIY Sand Recipe. I really do hope you get a chance to try it out, because it is the best indoor activity fun we’ve had this summer. Feel free to pin an image on this page for future reference.
Happy Digging!
| Cookie | Duration | Description |
|---|---|---|
| cookielawinfo-checkbox-analytics | 11 months | This cookie is set by GDPR Cookie Consent plugin. The cookie is used to store the user consent for the cookies in the category "Analytics". |
| cookielawinfo-checkbox-functional | 11 months | The cookie is set by GDPR cookie consent to record the user consent for the cookies in the category "Functional". |
| cookielawinfo-checkbox-necessary | 11 months | This cookie is set by GDPR Cookie Consent plugin. The cookies is used to store the user consent for the cookies in the category "Necessary". |
| cookielawinfo-checkbox-others | 11 months | This cookie is set by GDPR Cookie Consent plugin. The cookie is used to store the user consent for the cookies in the category "Other. |
| cookielawinfo-checkbox-performance | 11 months | This cookie is set by GDPR Cookie Consent plugin. The cookie is used to store the user consent for the cookies in the category "Performance". |
| viewed_cookie_policy | 11 months | The cookie is set by the GDPR Cookie Consent plugin and is used to store whether or not user has consented to the use of cookies. It does not store any personal data. |
8 Responses
Are you using corn flour or corn starch?
I used corn flour. It gave it a gritty texture more like sand.
How long will the sand stay together once molded? Is this something that would still be good if left out for a week?
Mine held together, but it did get a little dry after being left out for a while. It is the easiest to work with if it is just a bit damp.
Would kinetic sand work?
Yes!
Hi, I love that this recipe is reusable! However, I’m concerned that it would be so soft that it would be too “easy” to get stuff out – one or two hits with the hammer. Your kids didn’t find it too easy/fast? They were perhaps entertained by then cleaning the items off with a paintbrush?
You can also try placing items in water and freezing to make it more difficult and last longer. 🙂