Grab your AMAZING 26 Page Alphabet Freebie Today!

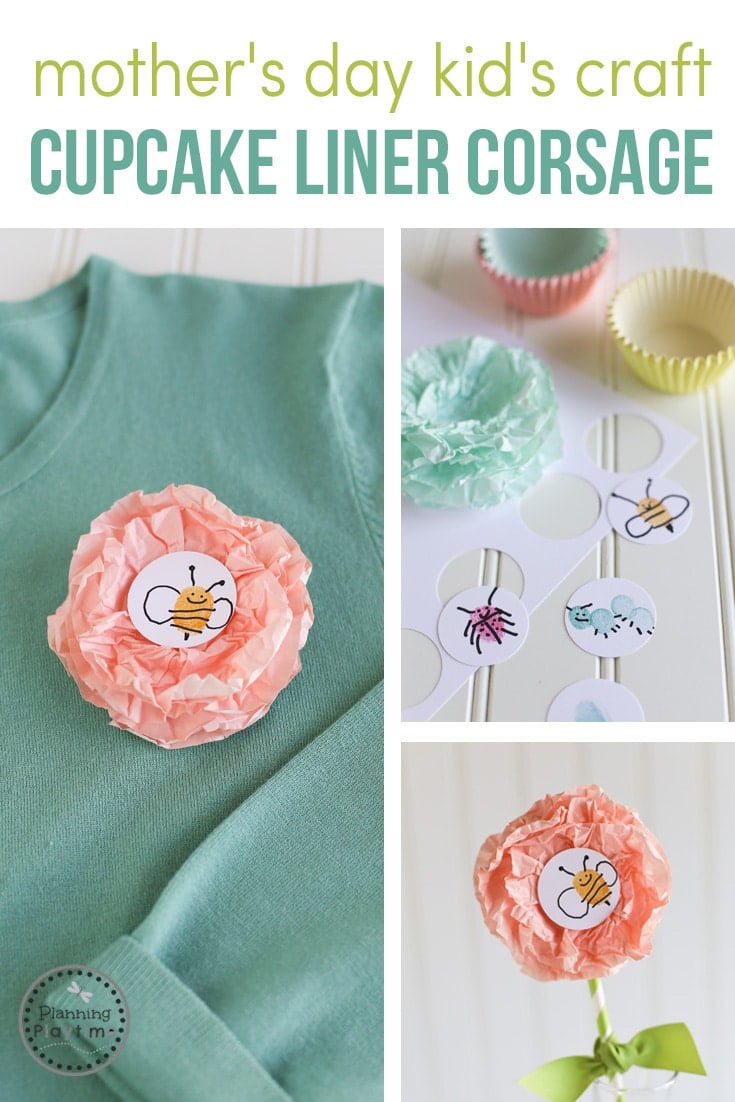
What would Mother’s Day be without flowers? Oh, and chocolate–don’t forget the chocolate. 😉 This simple Mother’s Day craft for kids, turns plain and inexpensive cupcake liners into beautiful blossoms.
Choose liners that are colored, or have a pattern—polka dots are perfect! The addition of your child’s personalized fingerprint art makes it a meaningful keepsake.
*This post may contain affiliate links for your convenience. Affiliate links are a great way for us to share cool products with you. They are also a fantastic way to support your favorite bloggers at no extra cost to you. Thank you!

SUPPLIES:

Flatten five cupcake liners for each corsage, and roll each into a small ball to wrinkle. This gives the layers dimension. The kids just thought it was fun and had a contest to see who could make the smallest ball.
Partially unfold each cupcake liner, making them different sizes. Layer them largest to smallest. (You can also work with them after they’re stitched together to create the different layers. Just let the kids scrunch each layer a bit more.)

Add a quick stitch using a needle and string or crochet thread through all layers, to keep them in place. I tied the knot in the back.

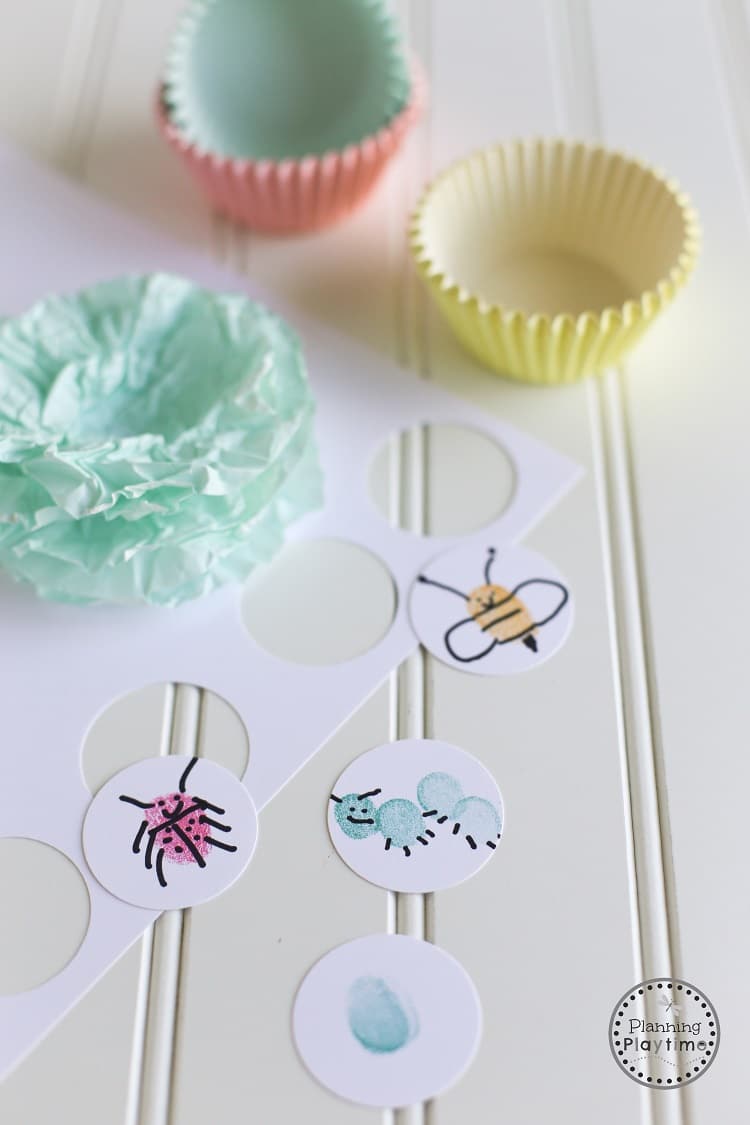
I like to use stamp ink, because the fingerprints show up better than with paint. I drew a variety of bugs first, and let the kids copy my samples. Let your kids create multiple bugs, then choose their favorite. Ed Emberly’s fingerprint art books are awesome! This one has a whole page on bugs.

I stuck with a simple bee, lady bug and butterfly. We also tried a worm, but the girls said no mom would want a worm for Mother’s Day. Maybe they’re right. 😉

Punch out each bug using a 1 ½” circle punch, and adhere to center of flower with hot glue. (Flip the circle punch over to center bug.)
Turn the flower over, and adhere another 1 ½” circle to the back of the flower. Adhere a bar pin with a nice big glob of hot glue so it’ll really stick. Make sure the bar pin lines up with the direction of the bug on the front.

OPTION #2
My daughter, Kate, has three girls, and although wearing multiple corsages at once would certainly be eye-catching (wink), displaying all the flowers together in a vase might be more practical. You could also attach a stem and leaves after mom has worn her corsage, and it quickly becomes a display for all year.
Simply adhere cupcake liner flowers to a straw stem and add ribbon for the leaves using a square knot (right over left, left over right). I used a dab of hot glue on the ribbon, so it would stay in place on the straw.

We hope you enjoyed this fun Mother’s Day Craft for Kids idea. It would perfect to make in a classroom to take home for mom. She’ll love it!
Have a wonderful Mother’s Day!
Kim McCrary is the creative mom and grandma behind All Things Simple. You can find her blogging there or hanging out on Pinterest at OneSimpleHome.

| Cookie | Duration | Description |
|---|---|---|
| cookielawinfo-checkbox-analytics | 11 months | This cookie is set by GDPR Cookie Consent plugin. The cookie is used to store the user consent for the cookies in the category "Analytics". |
| cookielawinfo-checkbox-functional | 11 months | The cookie is set by GDPR cookie consent to record the user consent for the cookies in the category "Functional". |
| cookielawinfo-checkbox-necessary | 11 months | This cookie is set by GDPR Cookie Consent plugin. The cookies is used to store the user consent for the cookies in the category "Necessary". |
| cookielawinfo-checkbox-others | 11 months | This cookie is set by GDPR Cookie Consent plugin. The cookie is used to store the user consent for the cookies in the category "Other. |
| cookielawinfo-checkbox-performance | 11 months | This cookie is set by GDPR Cookie Consent plugin. The cookie is used to store the user consent for the cookies in the category "Performance". |
| viewed_cookie_policy | 11 months | The cookie is set by the GDPR Cookie Consent plugin and is used to store whether or not user has consented to the use of cookies. It does not store any personal data. |
3 Responses
This is the cutest craft for Mother’s Day! I love it. Thanks for sharing. We are going to make a few for gifts for the grandmothers.
Aren’t they so cute! The little thumbprint centers make them so personal. I just love it!
love your ideas